To add chat support function to your store, you must make a Tawk.to account.

Enter the necessary data:
-
Name
-
Email
-
Password
When that has been done, go to the “Settings” section.

From there head to “Channels”, where you must select “Chat Widget”.

Here you can change the chats configuration.

Widget Name – Title of the chat.
Widget Status – Turn the chat on/off.
Widget Appearance – Colour of the chat.
Widget Content – Language of the chat.

Scheduler – Select the time zone of the chat.
Consent Form – Choose, whether you want to hide the chat from a specific region.
Widget Behaviour – Here you can select more elements for the chat.

Visibility Settings – Here you can select, when the chat will not be visible.
On Click Behaviour – Choose, how the chat will open.
Availability Restriction – Here you can configure the chat: what domains will have access to it, which countries and from which platforms.
When you’ve achieved the desired configuration, copy this code.

Then from the admin panel go to My Shop >> General Settings.
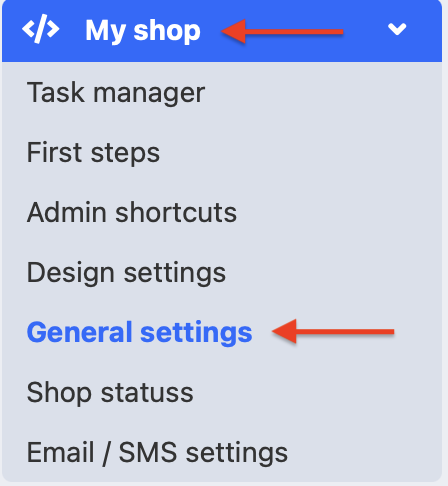
In the General Settings section open the Analytics window and paste the code in the Online Chat field.

Do not forget to save the changes and refresh the design cache!
