To change the small banners, from the admin panel go to Design >> Block. There you’ll find HTML Block >> 4 small banners, where you have to press on the yellow “edit” icon.

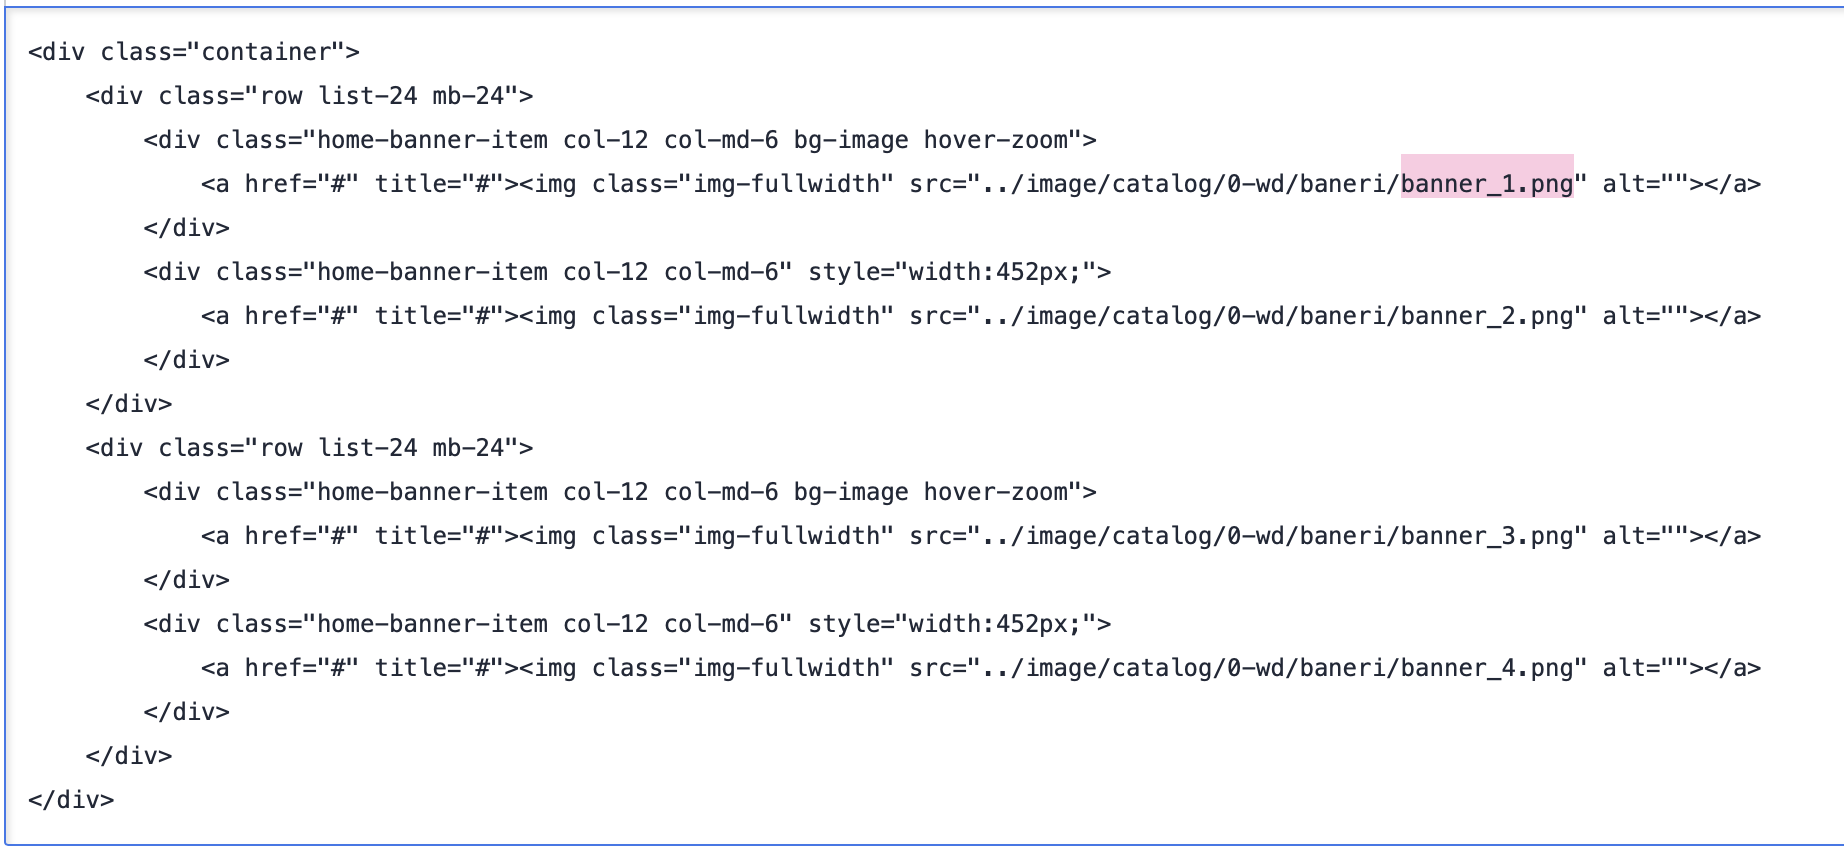
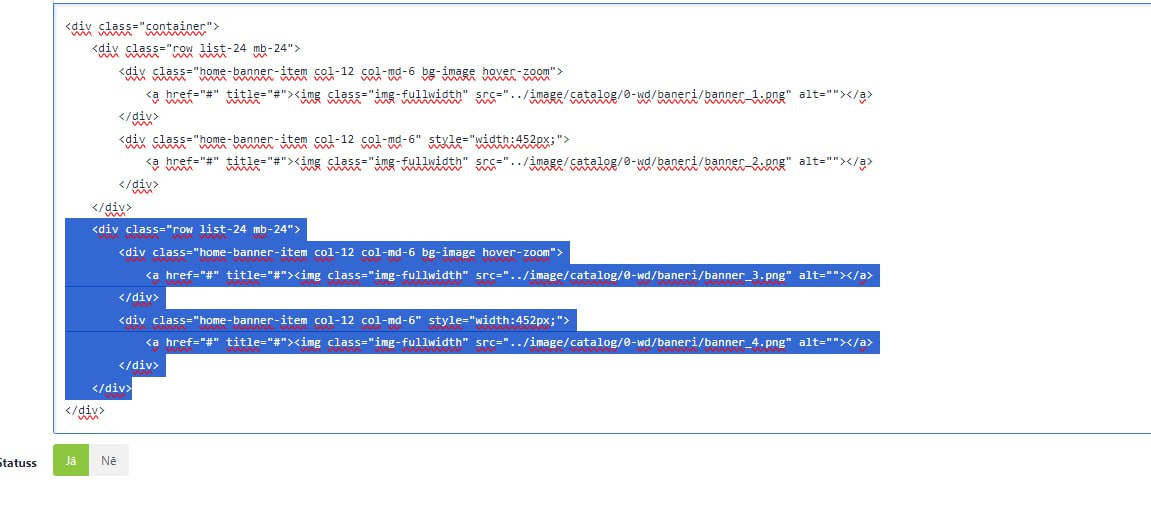
If all 4 banners are necessary, then press the “source” icon. A code view will open.

To change an image:
1. If the image is in the map, that’s mentioned in the code (baneri), then you must find the image title in the code and change it. In this example that is: banner_1.png.
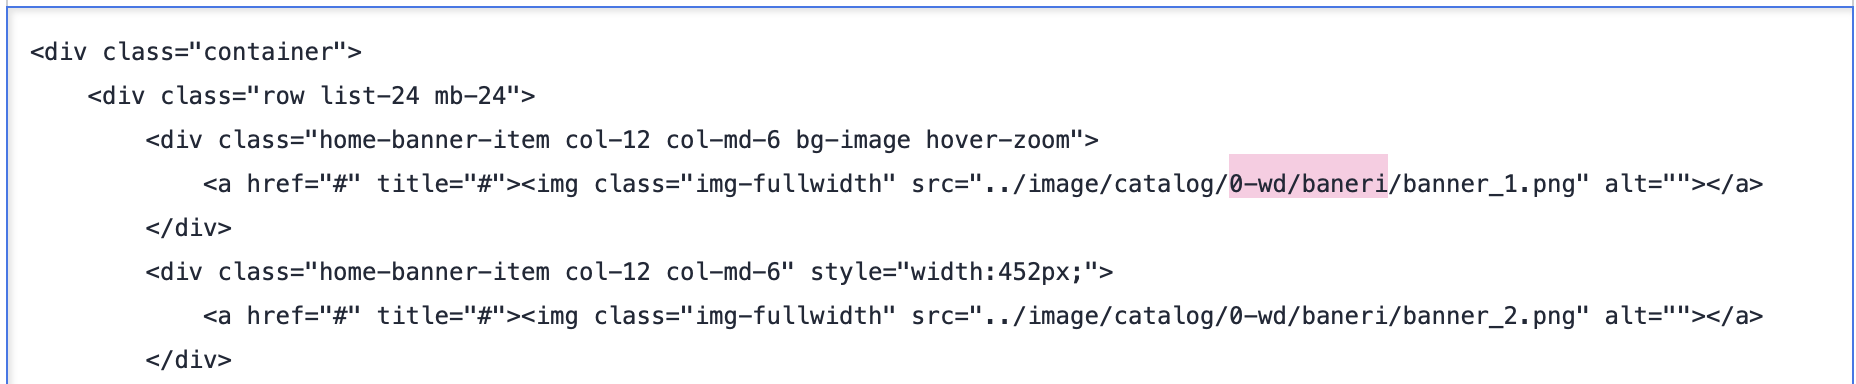
2. If the image is in another map, you also must change the name of the map to that where the image is located.
3. The image must be in .png or .jpg format.
4. The recommended size is: 465 x 187 px.
5. Changes must be made in each language separately.
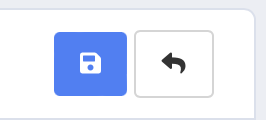
6. At the end you must click on the “source” button and then “save” on the upper right corner of the page.
If you do not need all 4 banners, then you’ll have to delete part of the code. By following the shown example, you’ll get 2 banners.
If the desired images have not been uploaded in a map, then from the admin panel go to Catalogue >> Products.
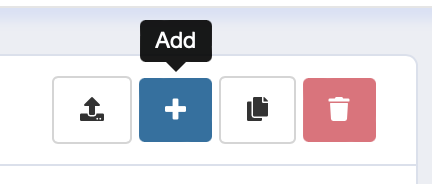
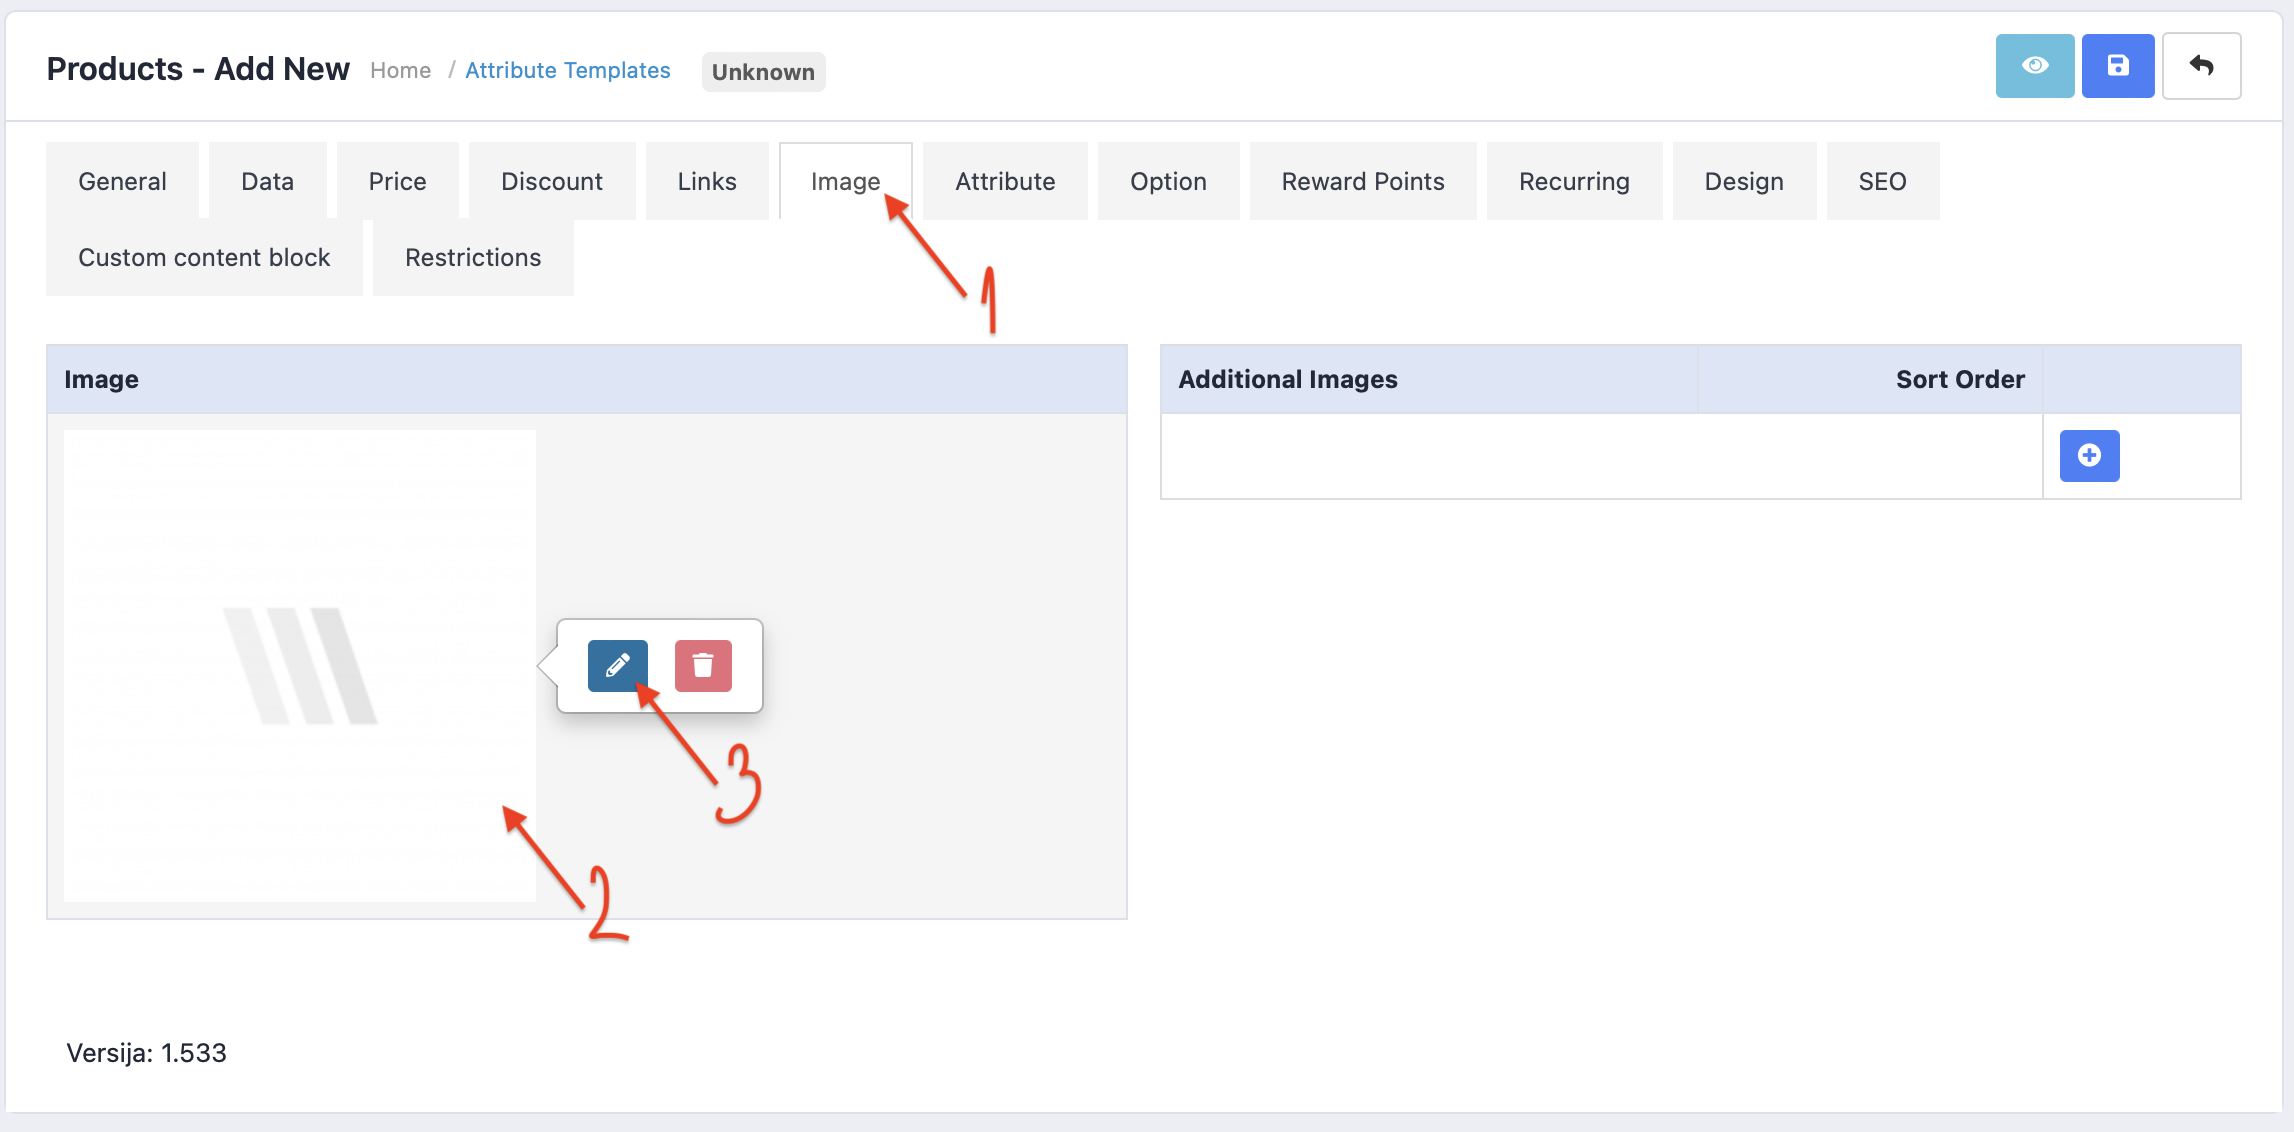
On the upper right corner, you’ll find a “+” button, by pressing on that, a menu will open. There you must press on the “image” section.
After that click on the frame, where an image should be, then a blue icon with a pencil will appear. By clicking on the “edit” button, a variety of maps will appear.
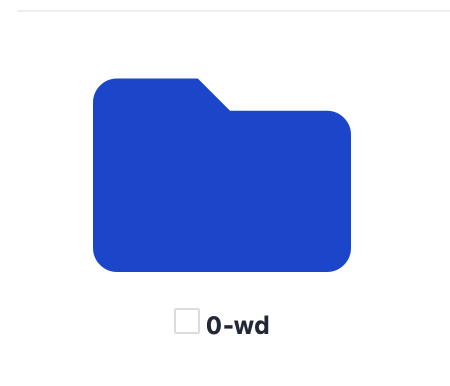
By default, banner images can be found in the “0-wd” map and “baneri” subfolder. By clicking on the “0-wd” map, another array of maps will appear, where you must find the subfolder “baneri”.
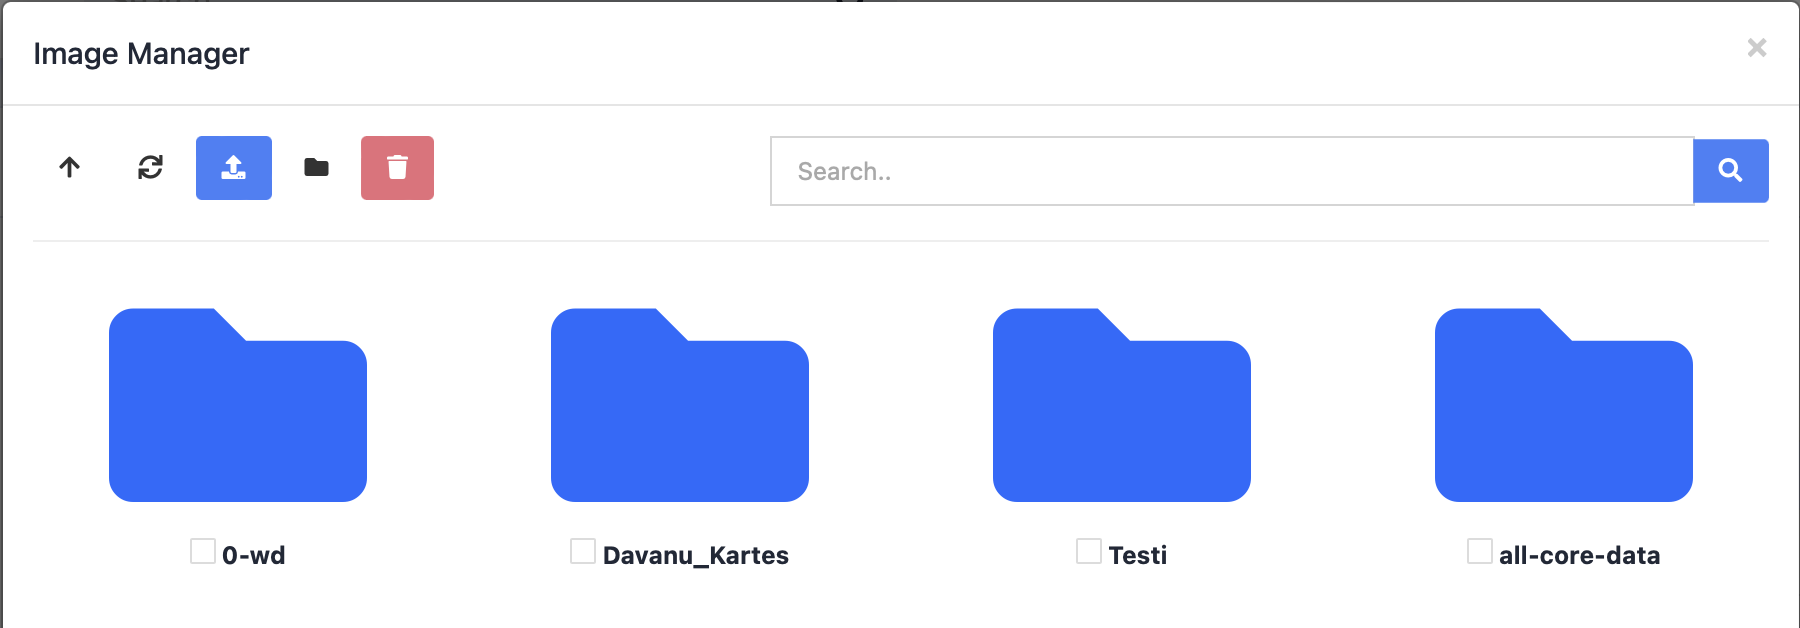
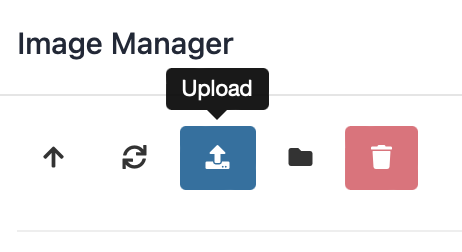
After opening the “baneri” map, on the upper left corner you’ll find a blue “upload” icon. By clicking on it, you can upload images according to the specified parameters.
If the desired image cannot be found in any of the mentioned maps, you must change the default code. A manual can be found at the top of the article.