In the “Banner” module it is possible to create multiple banners – both big and small, as well as place them on the side of the page. This module is found under Design >> Blocks >> Banners.
It is important to take in account that for the banners to be high quality, place them in precise sizes and PNG format. Also use the tinypng.com optimisation tool.
Banner sizes:
-
Full banner size and type tutorial is available here: Banner and image size
-
To edit a banner module, first, add the desired images.
-
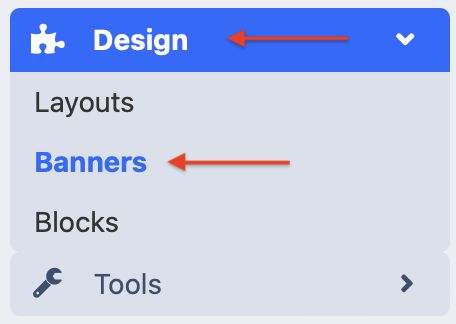
To add and edit banners go to Design >> Banners.
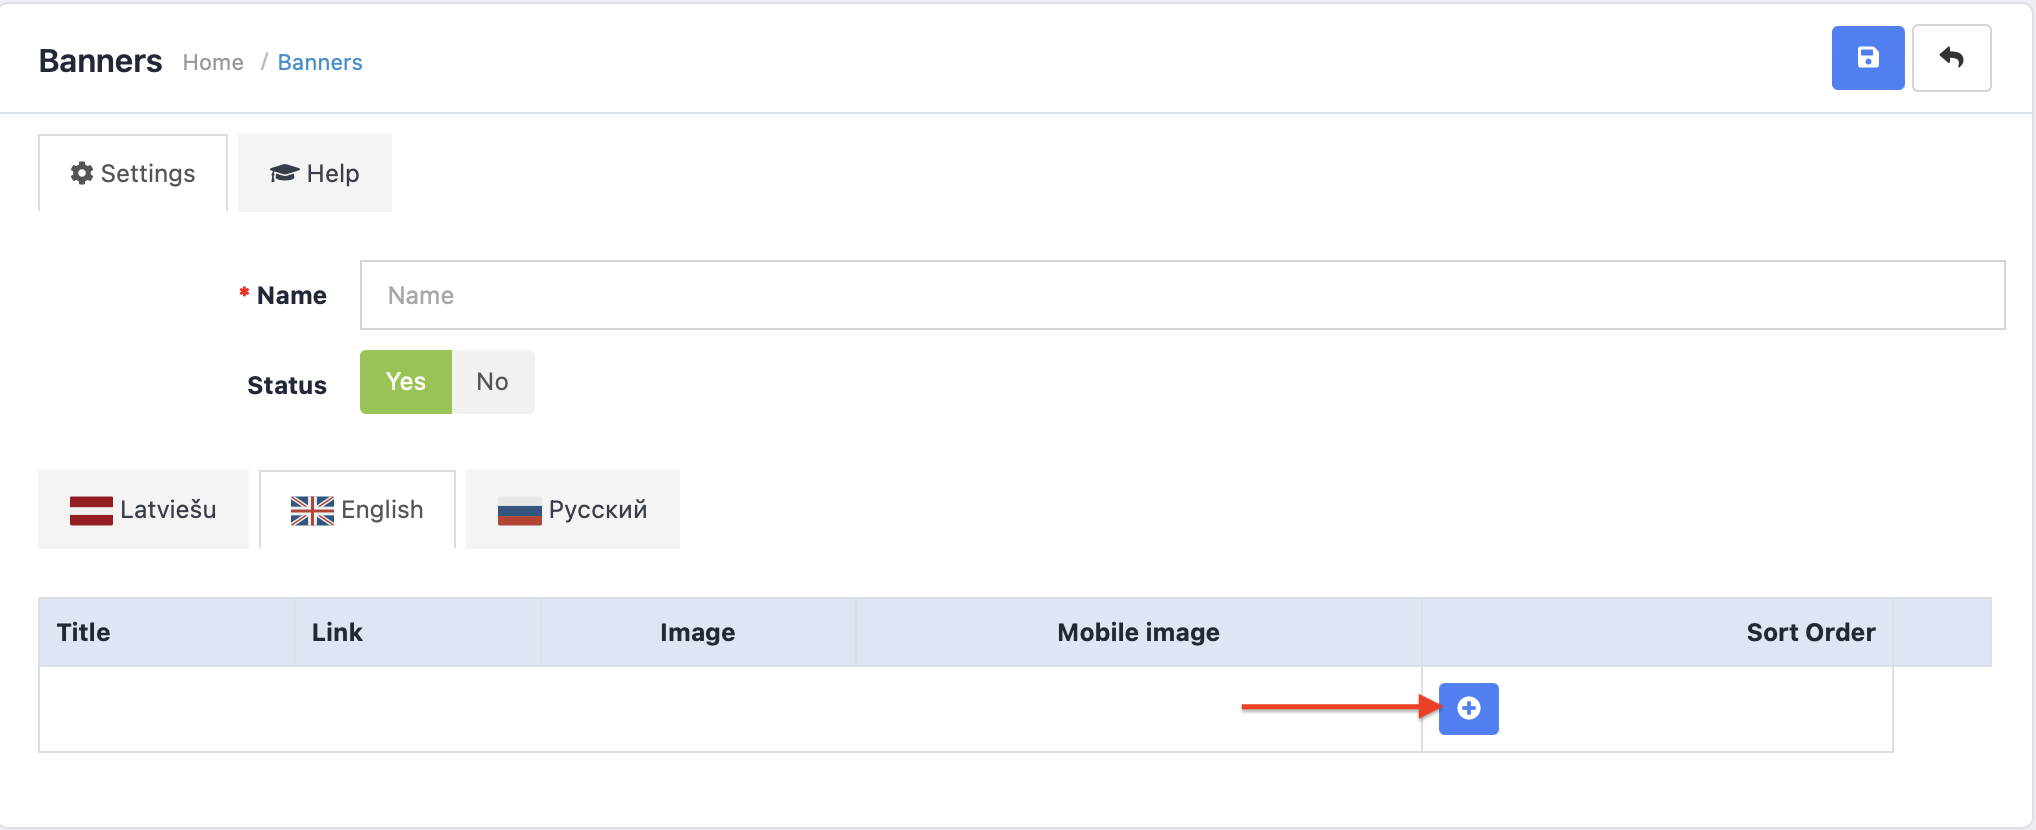
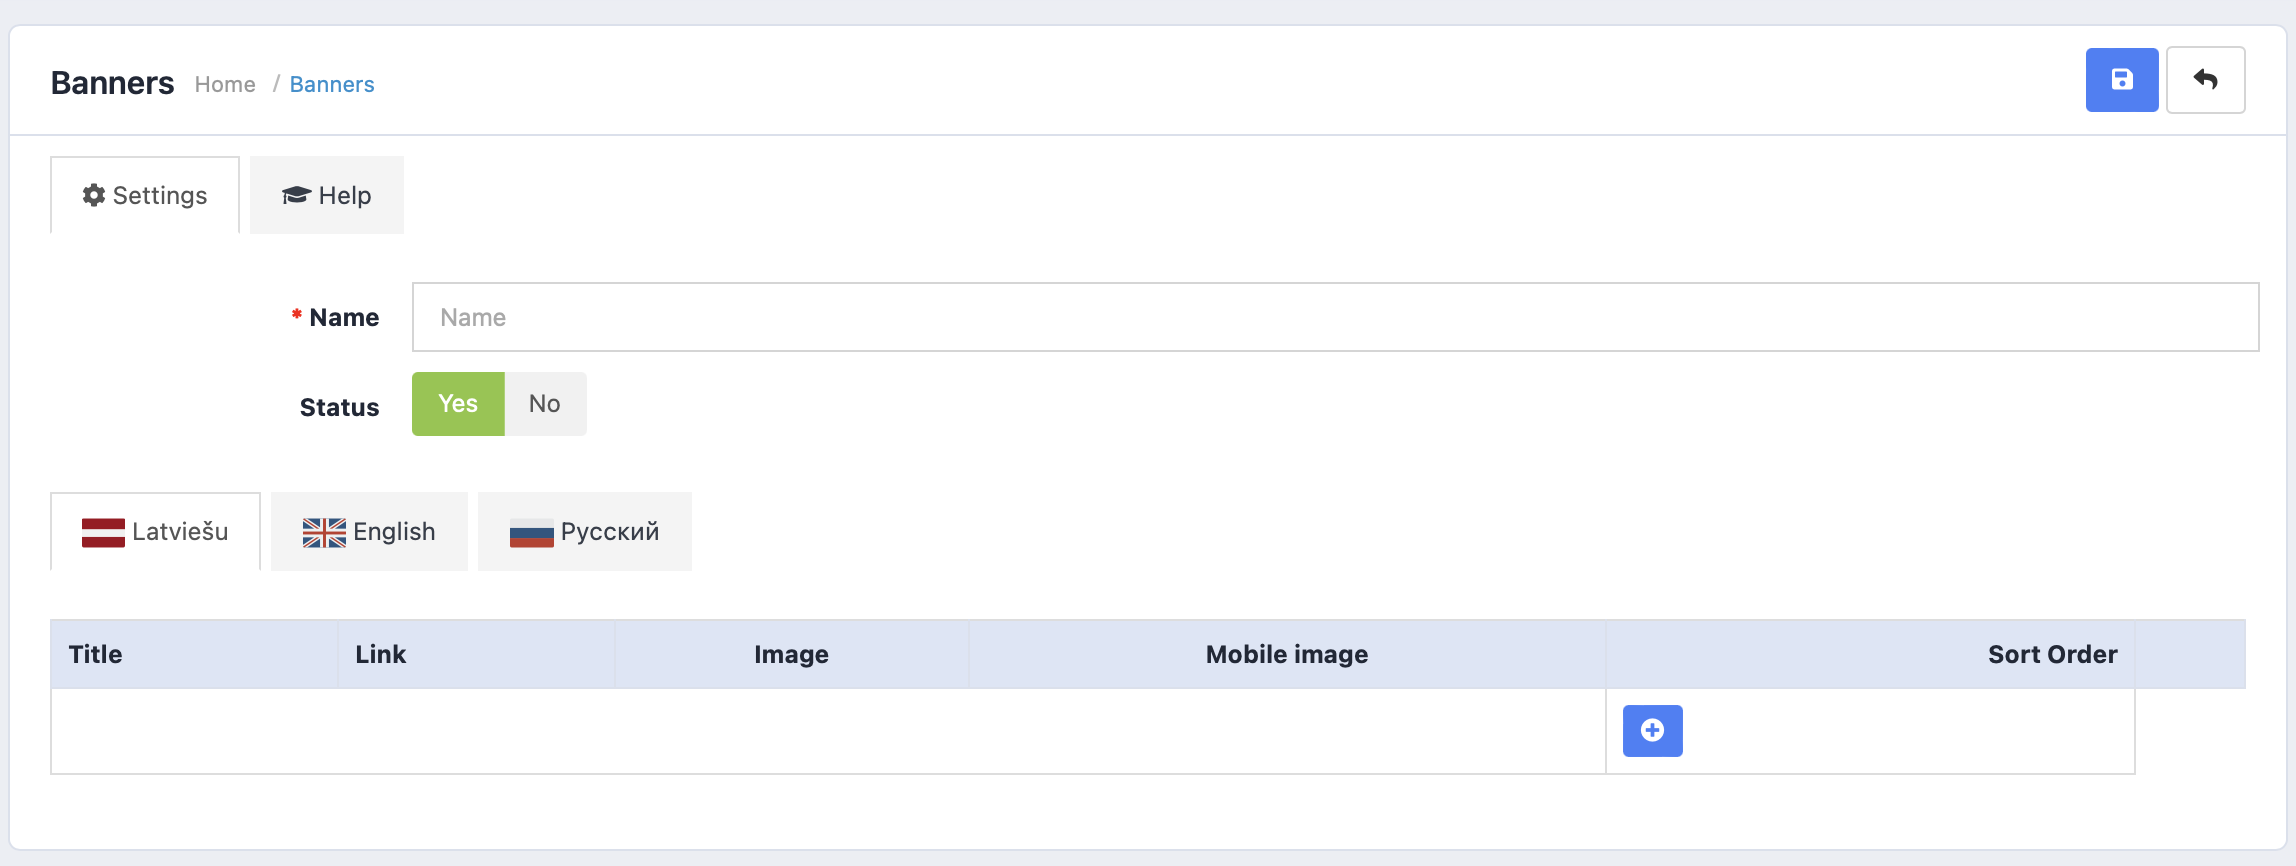
To add a new banner click on the blue "+" button. However, to edit an already existing banner, press on the blue pencil.

When the banner is created, you can start editing it. The first step is to add pictures by clicking on the blue”+” button.
The next step is choosing the images. For the mobile and computer version you can select separate pictures by clicking on the icons.
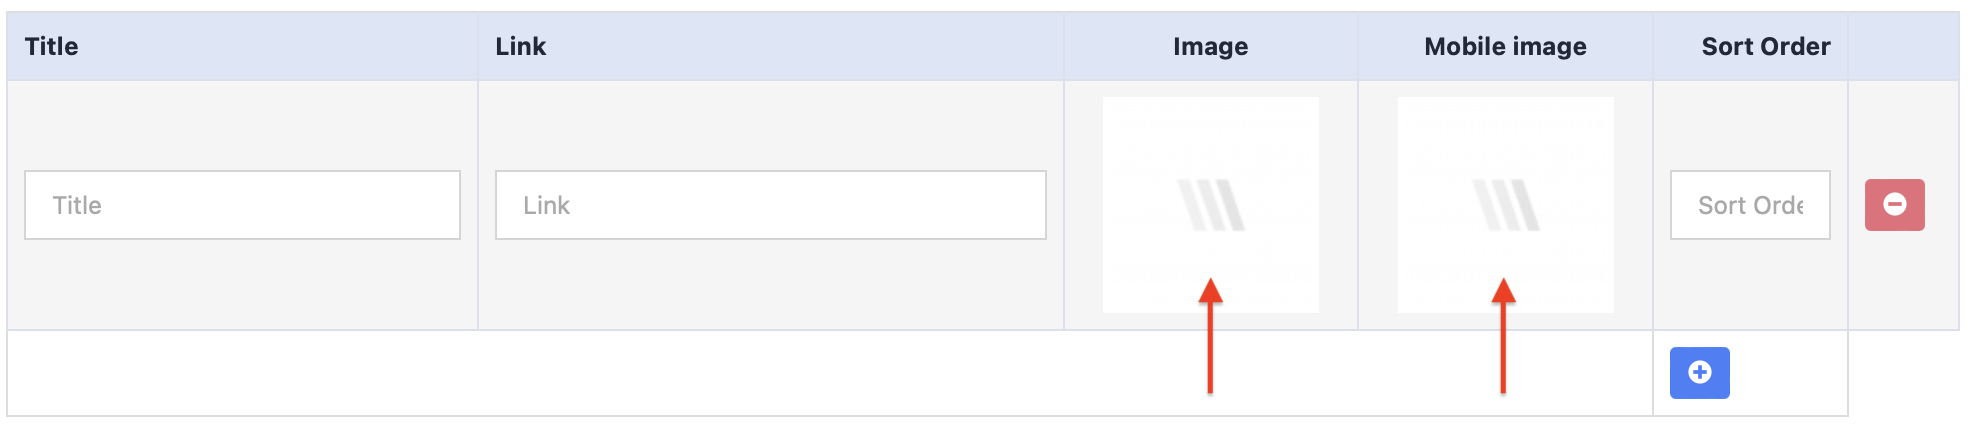
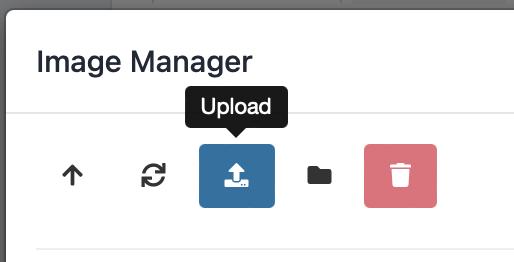
By clicking on the blue “Upload” button, you can choose the image file.
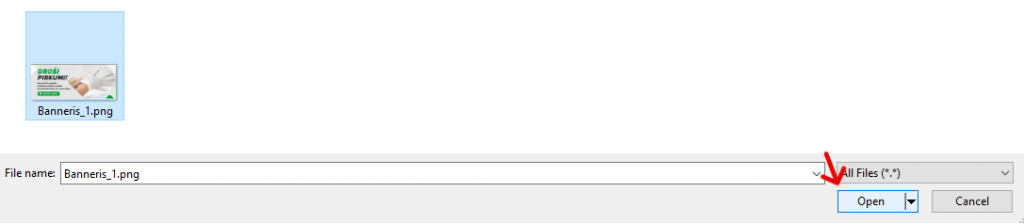
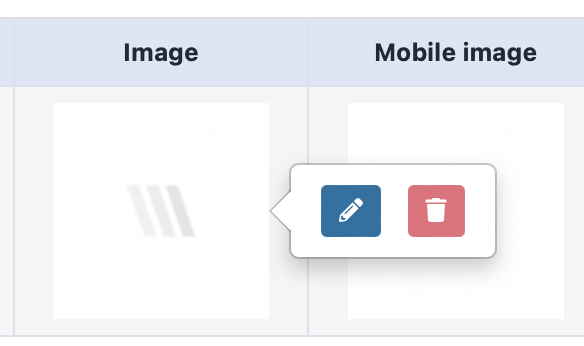
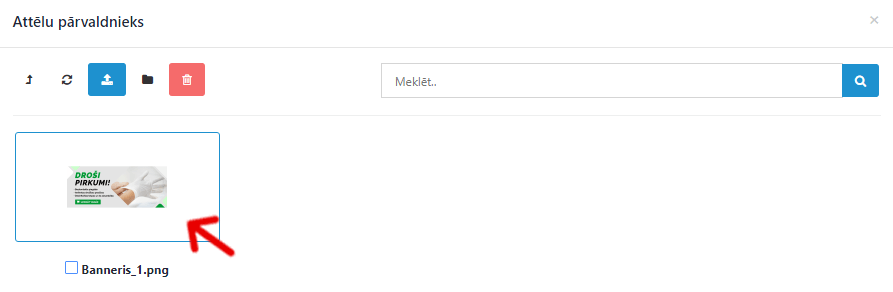
When that has been uploaded, double click on it.
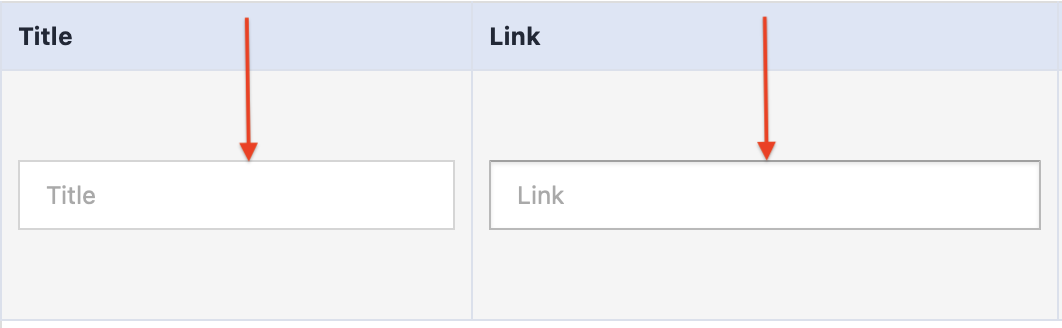
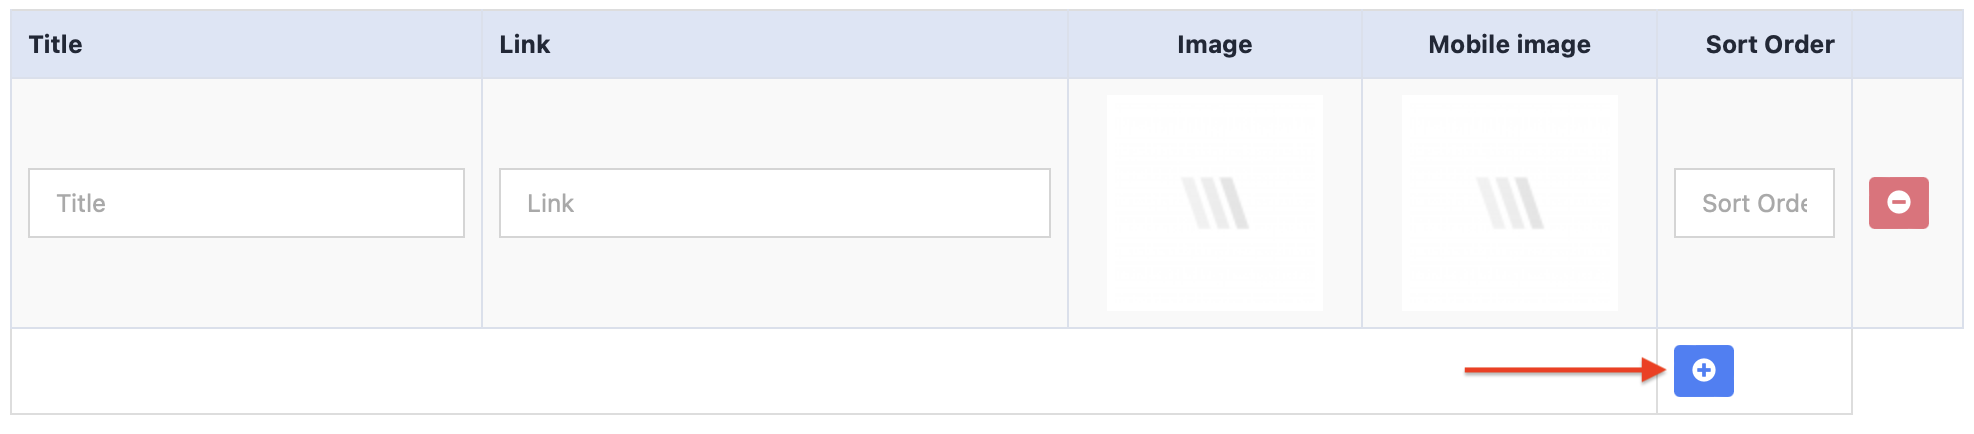
When the banner picture has been selected, you must name it. It’s also possible to add a redirection link, that will open, when pressing on the banner.
You can also add a sequence number. Remember, that it always starts with [0].
Additional images can be added by repeatedly clicking on the “+” button.
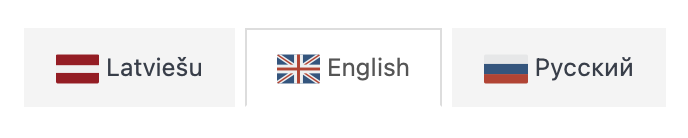
If the store has multiple languages, banner and all other information has to be entered separately for each.
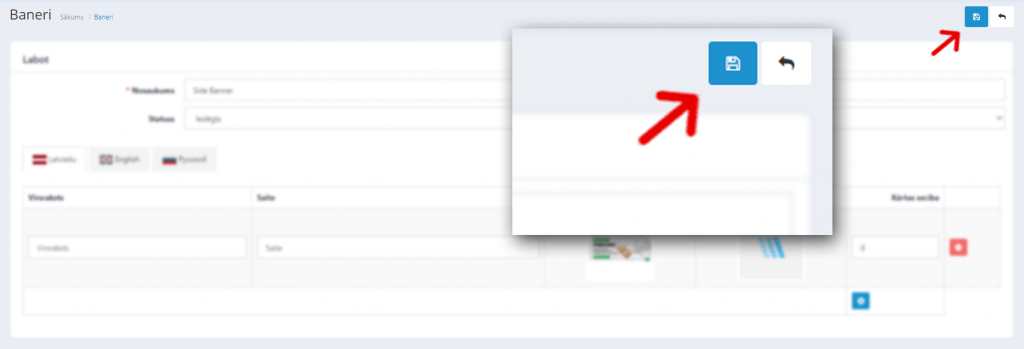
After making changes, save the page.
Then go to Design >> Banners from the admin panel.
Find the “Banner” module and click on the blue arrow button to edit existing modules or create new ones.

Title – Add the title of a banner.
Banner – Select a previously created banner.
Width – Choose the width of a banner (depends on the image size). Width by default – 905px.
Height – Choose the height of a banner (depends on the image size). Width by default – 375px.
Status – Choose whether the banner module is turned on.
When the desired changes have been made, click the save button